
| Instructions for installing terminals with the CR2 crimper |
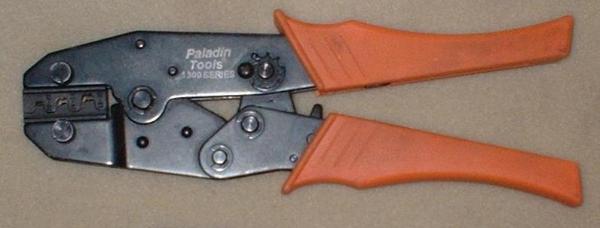
The crimper below is a Paladin Tools 1302 crimp tool with a 2033 die set. This is the one I use to install terminals on the parts I
sell. I paid about $60 for it from a local electronics dealer about 5 years ago and the last time I checked this tool is now over
$100. It works great and does the crimp in one step.
Another thing to consider is this crimper from Paladin Tools is made in the USA and all other ones I have seen (including the
one I sell) are made in Taiwan.
| Instructions on how to use the ratcheting CR2 crimper coming soon. |